Adding Images to Courses and Products
To enhance the appearance of your Courses and Products, you can use our Featured Images feature. These images serve as a custom visual reference, helping learners easily identify and connect with your content.
Both Courses and Products support Featured Images, and the process for adding them is similar. This guide will walk you through how to upload and assign Featured Images to these items and where they will appear to learners.
Before proceeding, we recommend reviewing our overview of the Media Library: The Media Library and Uploaded Files.
In this article
Featured Images Size Recommendation
Featured Images should follow a 3:2 aspect ratio to ensure the best results, where the width is 1.5 times the height. The recommended dimensions are 300 px by 200 px, which provides optimal performance and visibility. Using larger images may impact page performance and increase loading times, while smaller images can lead to formatting issues. Ensuring all images are the same size creates a uniform appearance in the learner view and Course Catalog.
If you choose not to upload a Featured Image for a Course or Product, a default image will automatically be displayed. This default image is the same for all Courses and Products that do not have a custom Featured Image.
Adding Featured Image to a Course
Adding a Featured Image to your Course provides learners with a custom visual reference that enhances their experience on the Learner Dashboard. For owners and staff, the Featured Image is also displayed on the Manage Course screen.
To add a featured image, start by navigating to the Owner Dashboard, then go to Courses and select All Courses.
-
If you're editing an existing Course, click the three-dot action menu next to the Course you want to update. If you’re creating a new Course, click +Create Course.
-
Open the Step 1: Basic Info tab in the Course settings. This is where you can add the featured image.
-
Use the Browse Media button on the right side of the screen to open the Media Library.

-
In the Media Library, choose the image you’d like to use as the Featured Image. If the image is not already in the Media Library, you can upload it by:
- Dragging and dropping the image into the upload area, or
- Clicking Upload Media to browse files from your computer.
-
Once the image is selected, click Update Course to save your changes for an existing Course. If you're creating a new Course, continue through the setup process.
Placement of the Course's Featured Image
Once the Course has been saved or updated, the Featured Image of the Course will appear in multiple locations, including the Manage Course page and the Learner's "My Courses" page.
The Manage Course page for Owners/Staffs:

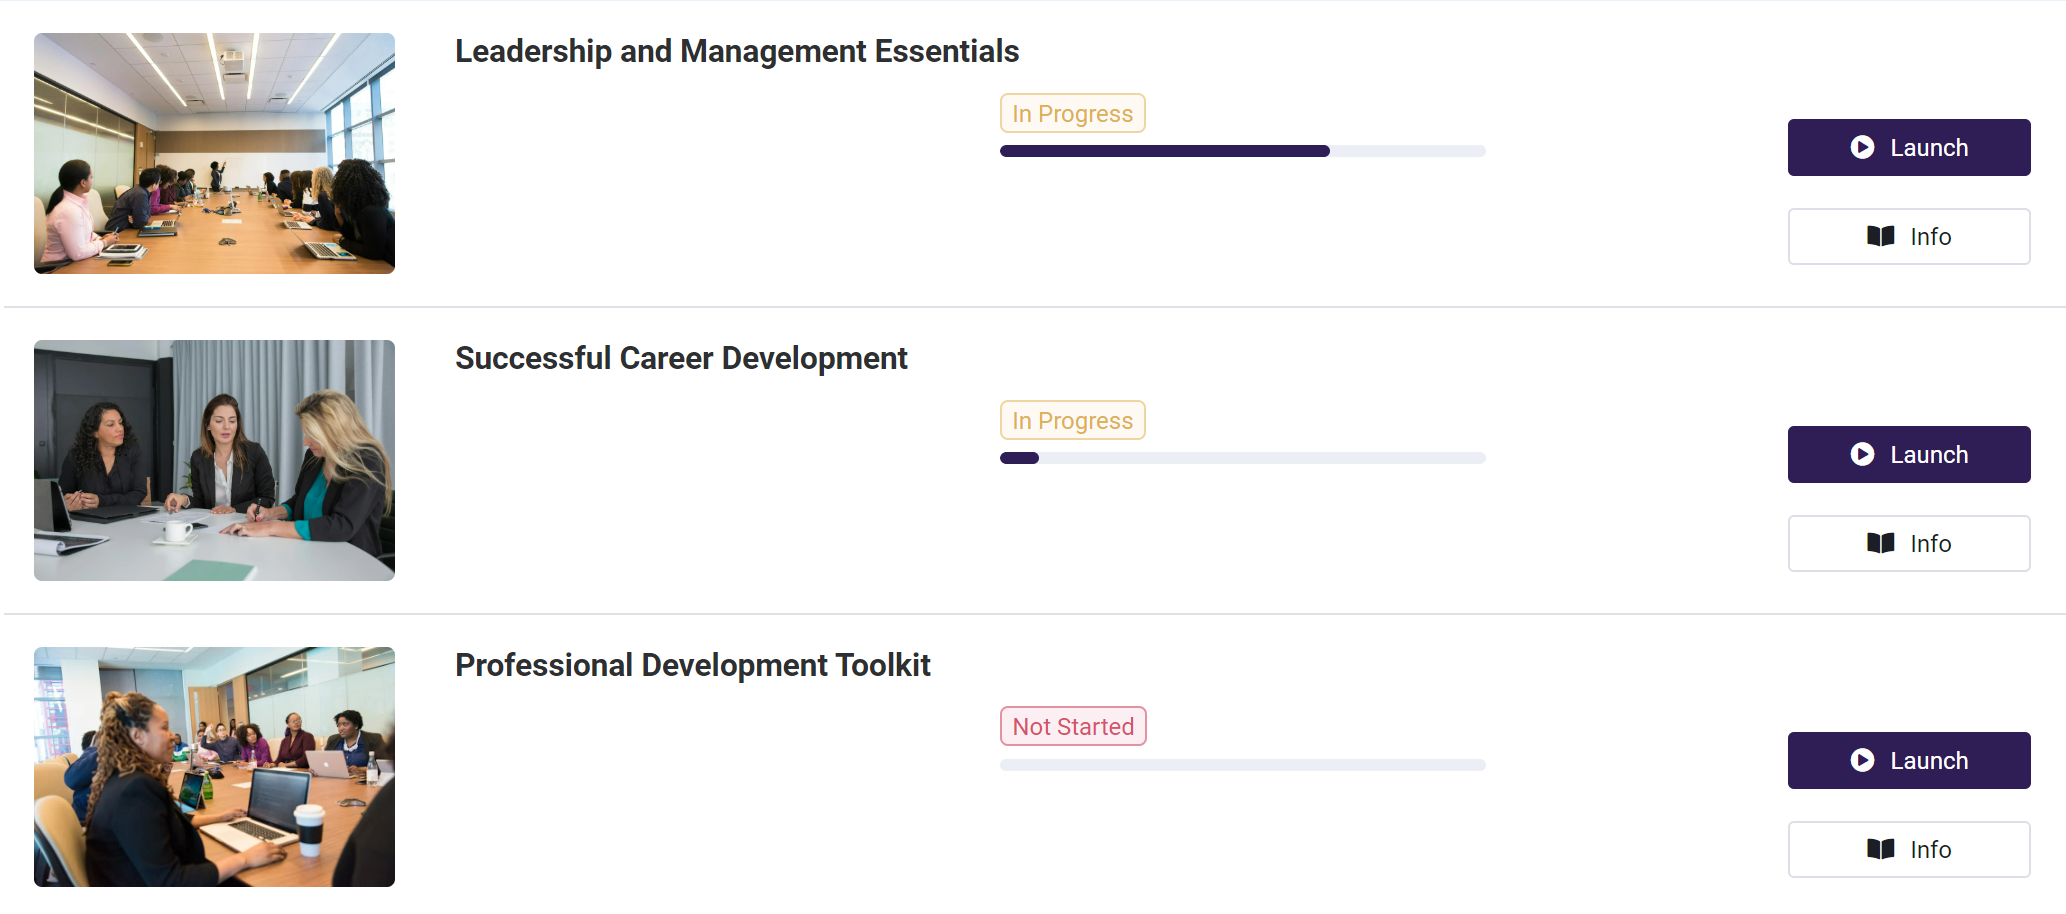
The Learner Dashboard and My Courses Page
a. List View
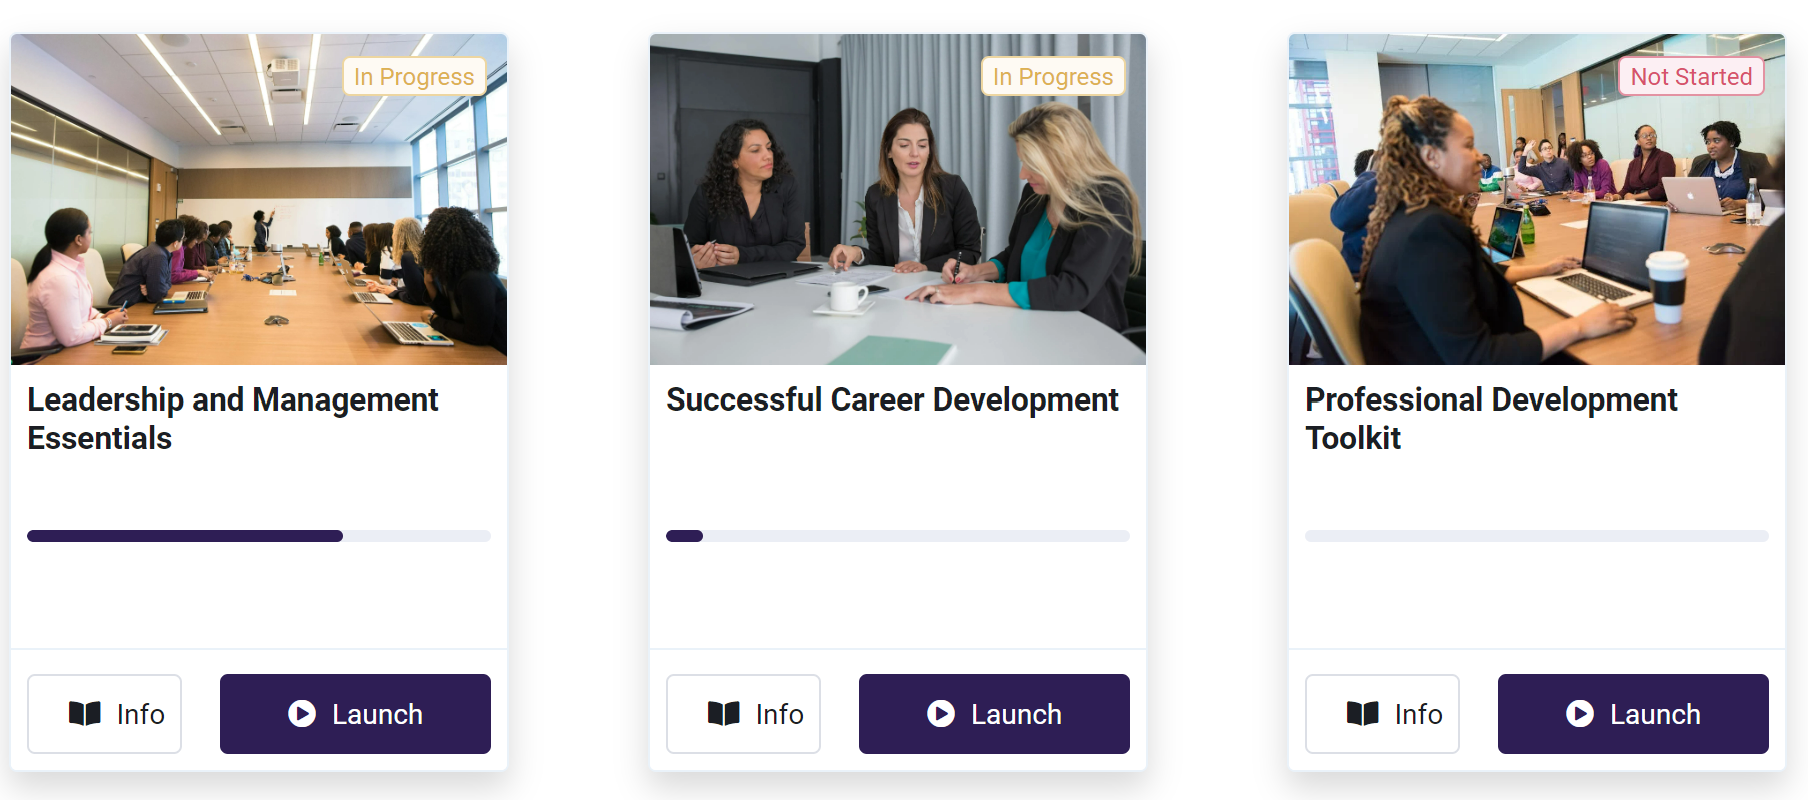
b. Card View
Adding Featured Image to a Product
The Featured Image for a Product will appear in the Course Catalog. You can add a Featured Image while creating a new Product or by editing an existing one.
-
Go to the Owner Dashboard and select eCommerce, then click on Products.
-
To create a new Product, click +Add Product. To edit an existing Product, click the three-dot menu next to the Product and choose Edit.
-
In the Product settings, go to the General Details section.
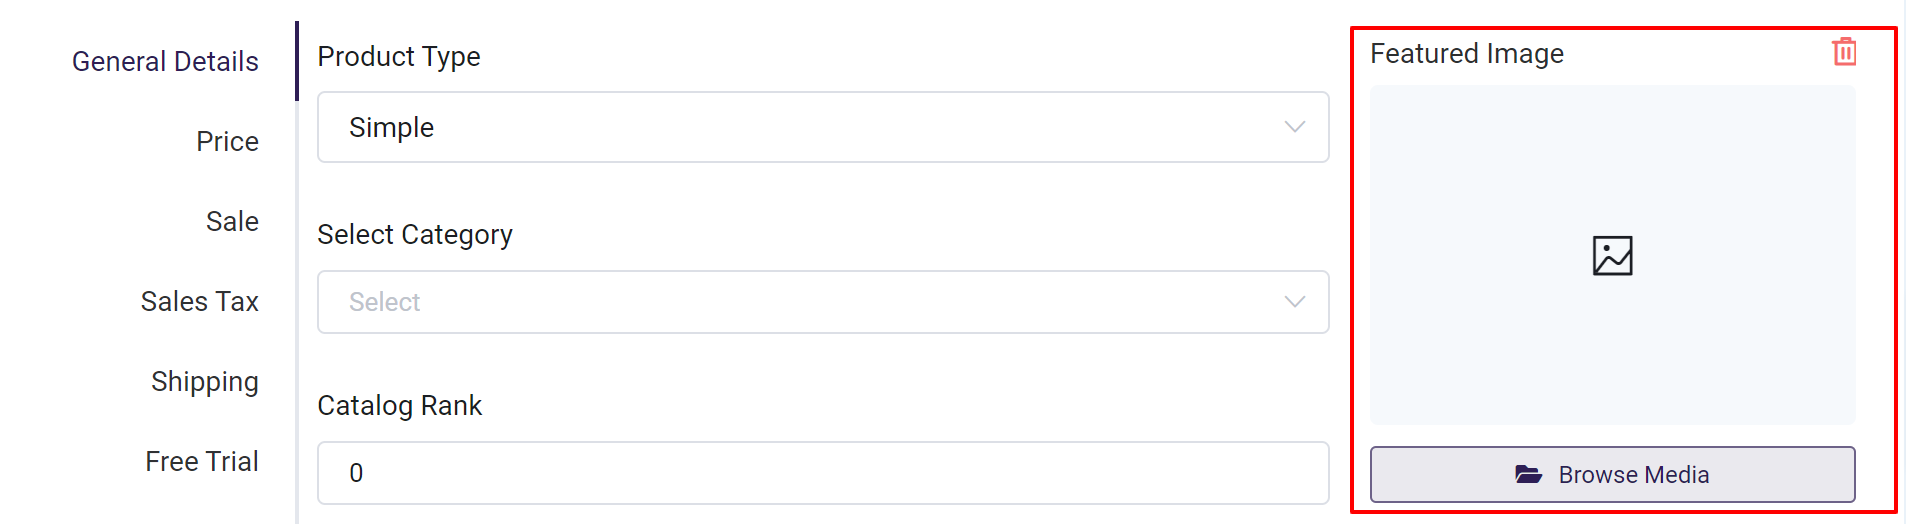
-
Click the Browse Media button on the right side of the screen to open the Media Library.
-
Select an image from the Media Library by clicking Choose/Select under the image filename. If you need to upload a new image, drag and drop it into the upload area or click Upload Media to find an image on your computer.
-
Save your changes by clicking Save Product for a new Product or Update Product for an existing one.
Placement of the Product's Featured Image
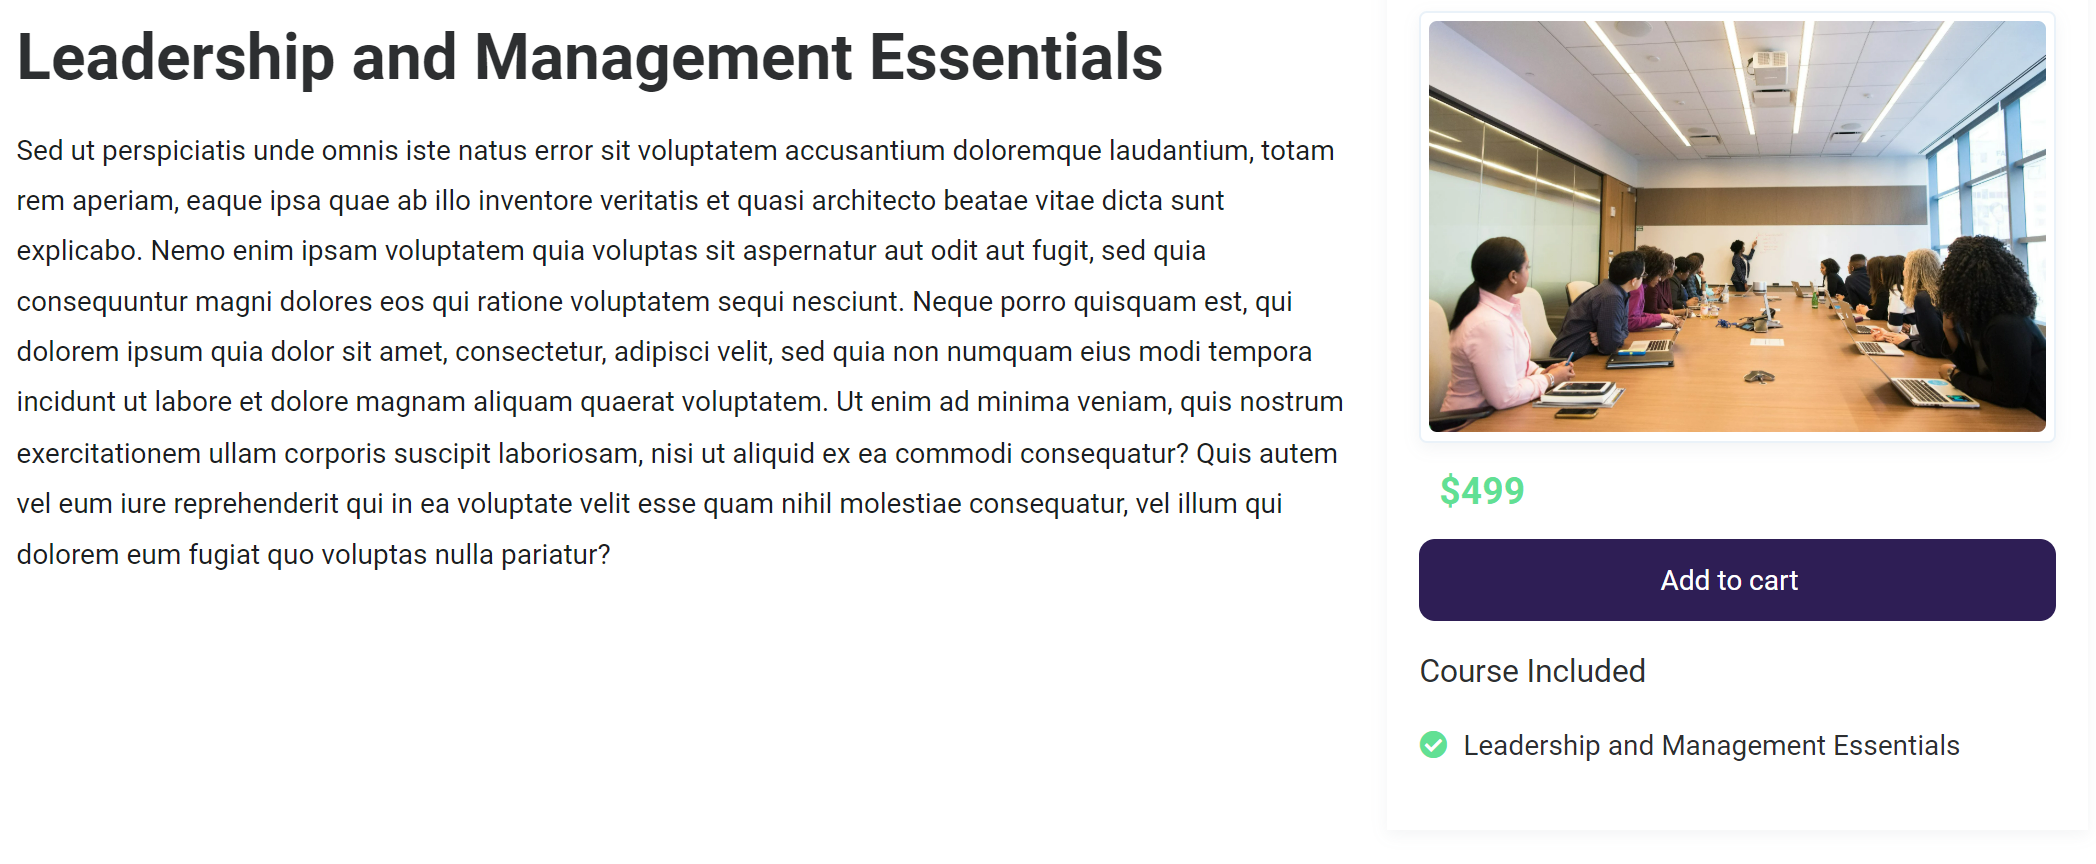
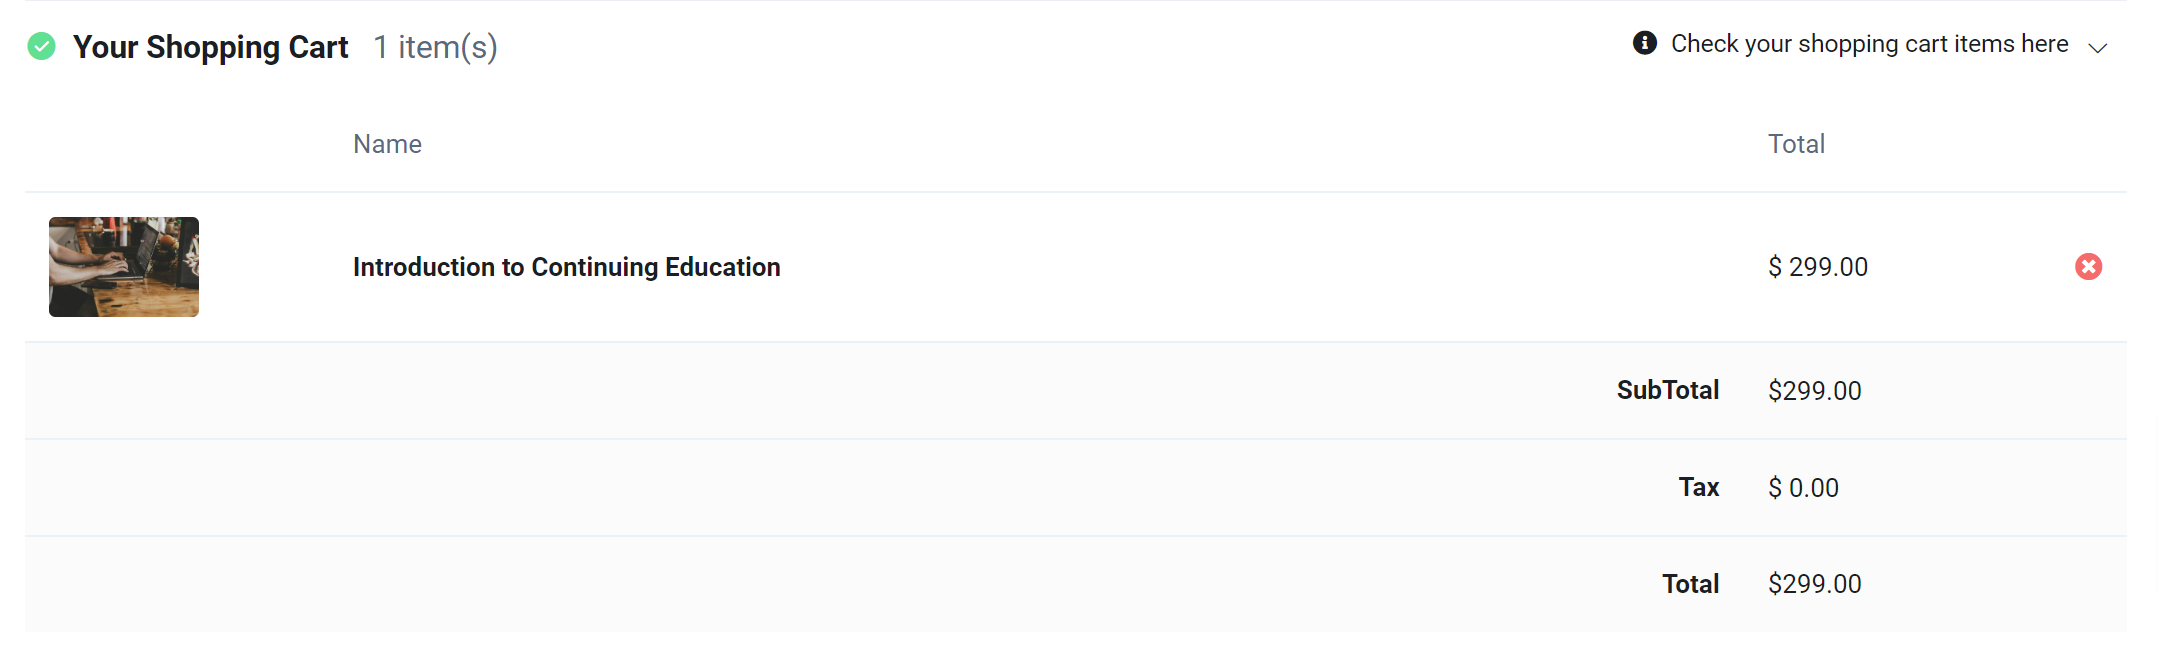
This is what a Product Featured image looks like when a learner sees it in the Course Catalog, Shopping cart and the single product page:
a. List View

b. Card View

Shopping Cart
Single Product Page