Customizing Navigation Menus
Now that you're familiar with the Page Builder, let's talk about customizing the navigation menus. Each page in your platform's front-end site will display the same header and footer. Included in the header and footer are three navigation menus: the Main Menu, Top Bar Menu, and Footer Menu. Each of these menus is customizable, or optional.
There is also a fourth menu editing type: Learner Dashboard Sidebar. This allows you select what menu items a logged-in student sees on their Dashboard.
This guide will walk you through the process of adding and customizing items for each of those navigation menus, such as choosing what menu options show, what they link to and what they are called.
For more information on site pages, please review our guide: Introduction to Site Pages
In this article
Navigation Menus & Menu Types
Navigation menus are found in the Admin Dashboard by going to Pages & Menus, then Menus. There are three navigation menu locations on your site pages: the Main Menu and Top Bar menus are found in the header of the pages, and the Footer menu is found in the footer of the pages. The fourth menu type Learner Dashboard Sidebar lets you select what menu items a logged-in student sees on their Dashboard. Let's look at each type below:
Main Menu:
The Main Menu is located on the second row of the header, in between your site logo and the Login/Logout button.

Top Bar Menu:
The Top Bar Menu is found in the top row of the header, in the top right corner, next to the user's welcome message.

Footer Menu:
The Footer Menu is located in the footer, in the right corner.

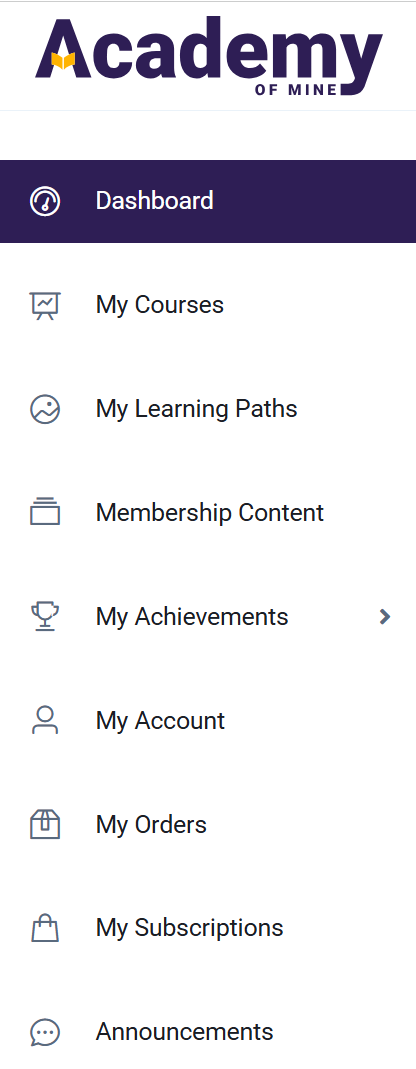
Student Dashboard Sidebar Menu
This is the menu that a Student sees when they are logged in on their Dashboard.
Customizing Menus
You can customize all of these menus by editing, adding, or removing items. You can also choose to remove all the items and not use a menu at all if you wish for some of the menus.
Adding to a Navigation Menus
Let's go through how to customize what shows on each of the navigation menus: the Main Menu, the Top Bar Menu and the Footer Menu, as well as the Learner Dashboard Sidebar.
-
From the Admin Dashboard, choose Pages & Menus, then Menus
-
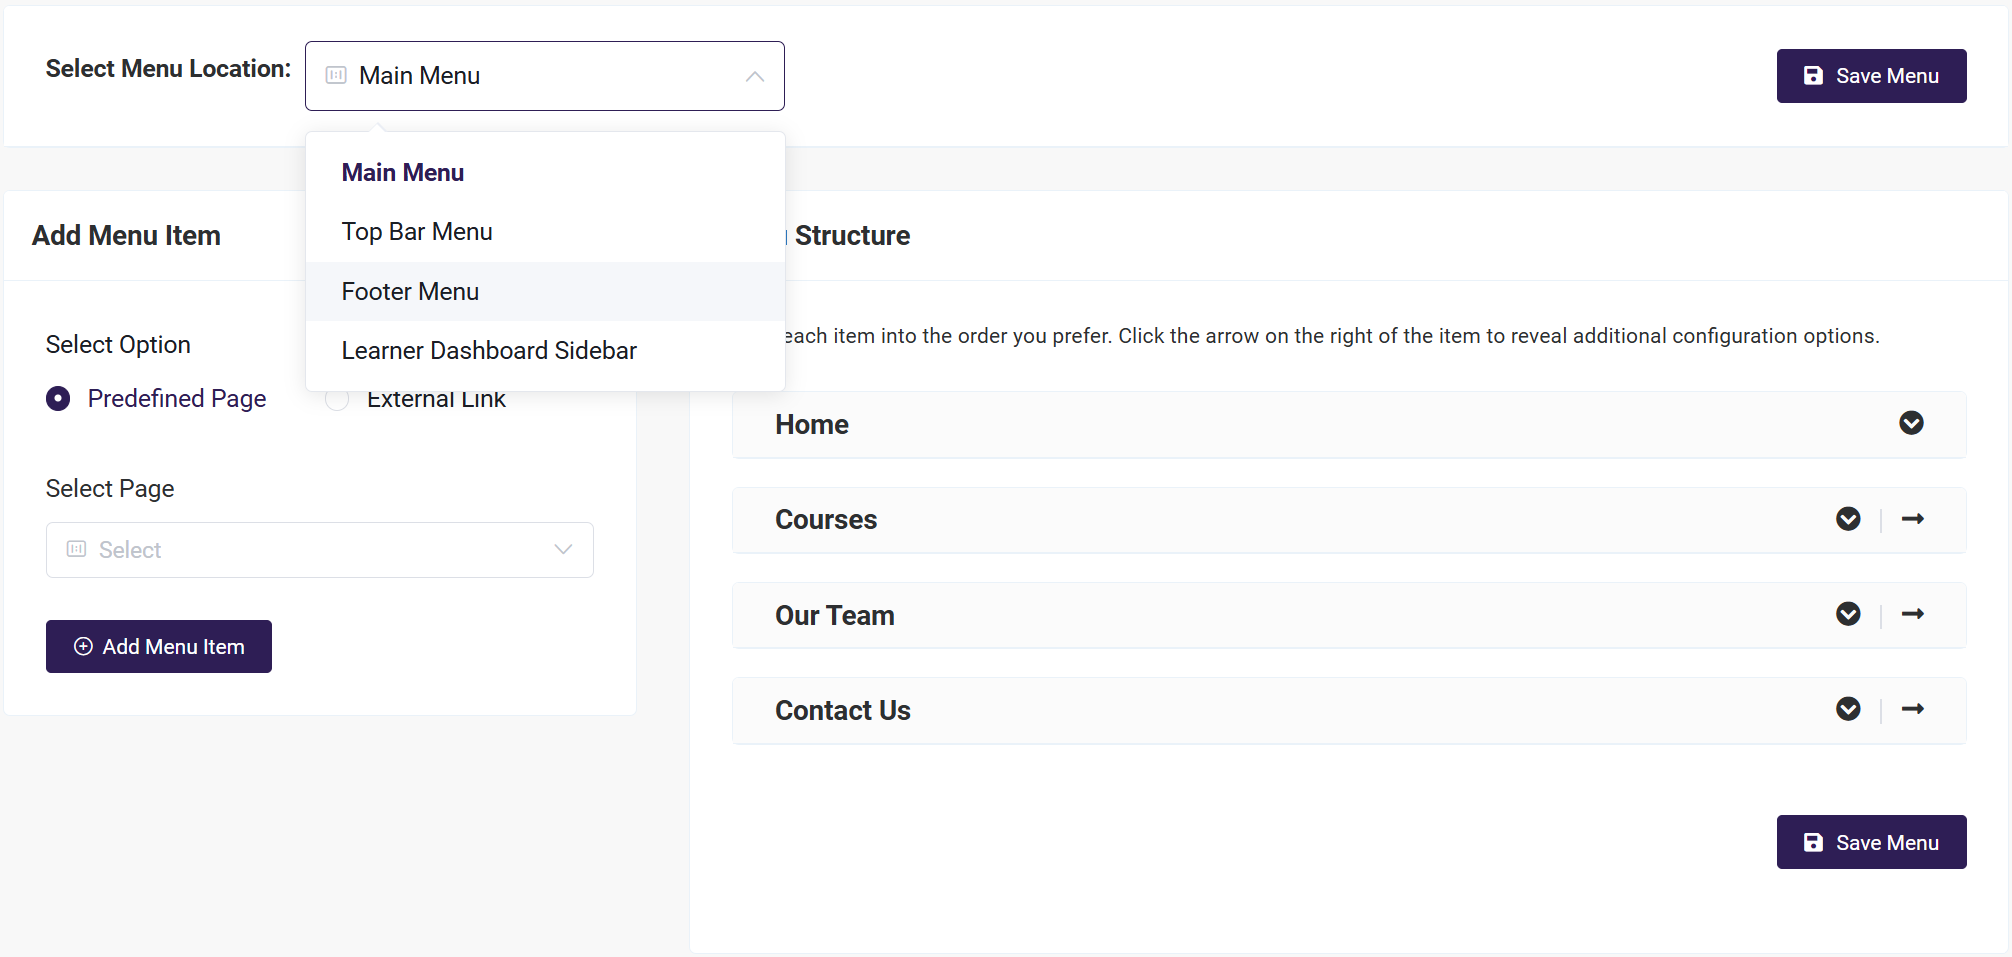
Next to Select Menu Location, choose what menu you'd like to edit. Once it is selected, it will display all the information for that specific menu in the Menu Structure section
-
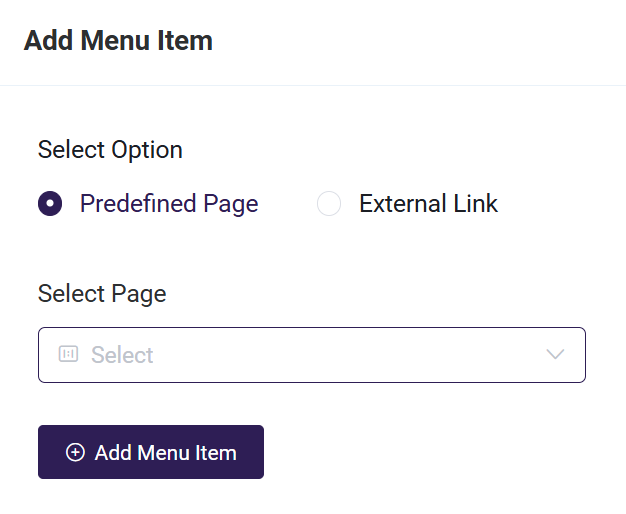
To add menu items, you have two options: Predefined Page or External Link.
-
If you choose Predefined Page, simply select a page from the list of pages that have already been created. Once selected, click the Add Menu Item button to include it in the menu.
-
If you select External Link, you will need to provide a Navigation Label and assign it to a custom link. After entering the details, click the Add Menu Item button. Your new item will then appear in the Menu Structure section.

Navigation Label: The navigation label is the actual text that will appear on your menu. You can customize this label however you want, it does not have to match the name of your site page.
External Link: You can also link your menu item to any webpage you wish. You just need to select Custom Link, and then add the URL of the page to link to the menu item.
-
-
After you have clicked Add Menu Item to add the new item, click Save Menu. You can also rearrange the list by clicking and dragging an item into the correct place, just be sure to Save Menu when you're done.
Editing & Customizing Menu Items
Within the Menu Structure area of the menu you have selected, each menu item has a down arrow icon, which will expand the item to display customization options.
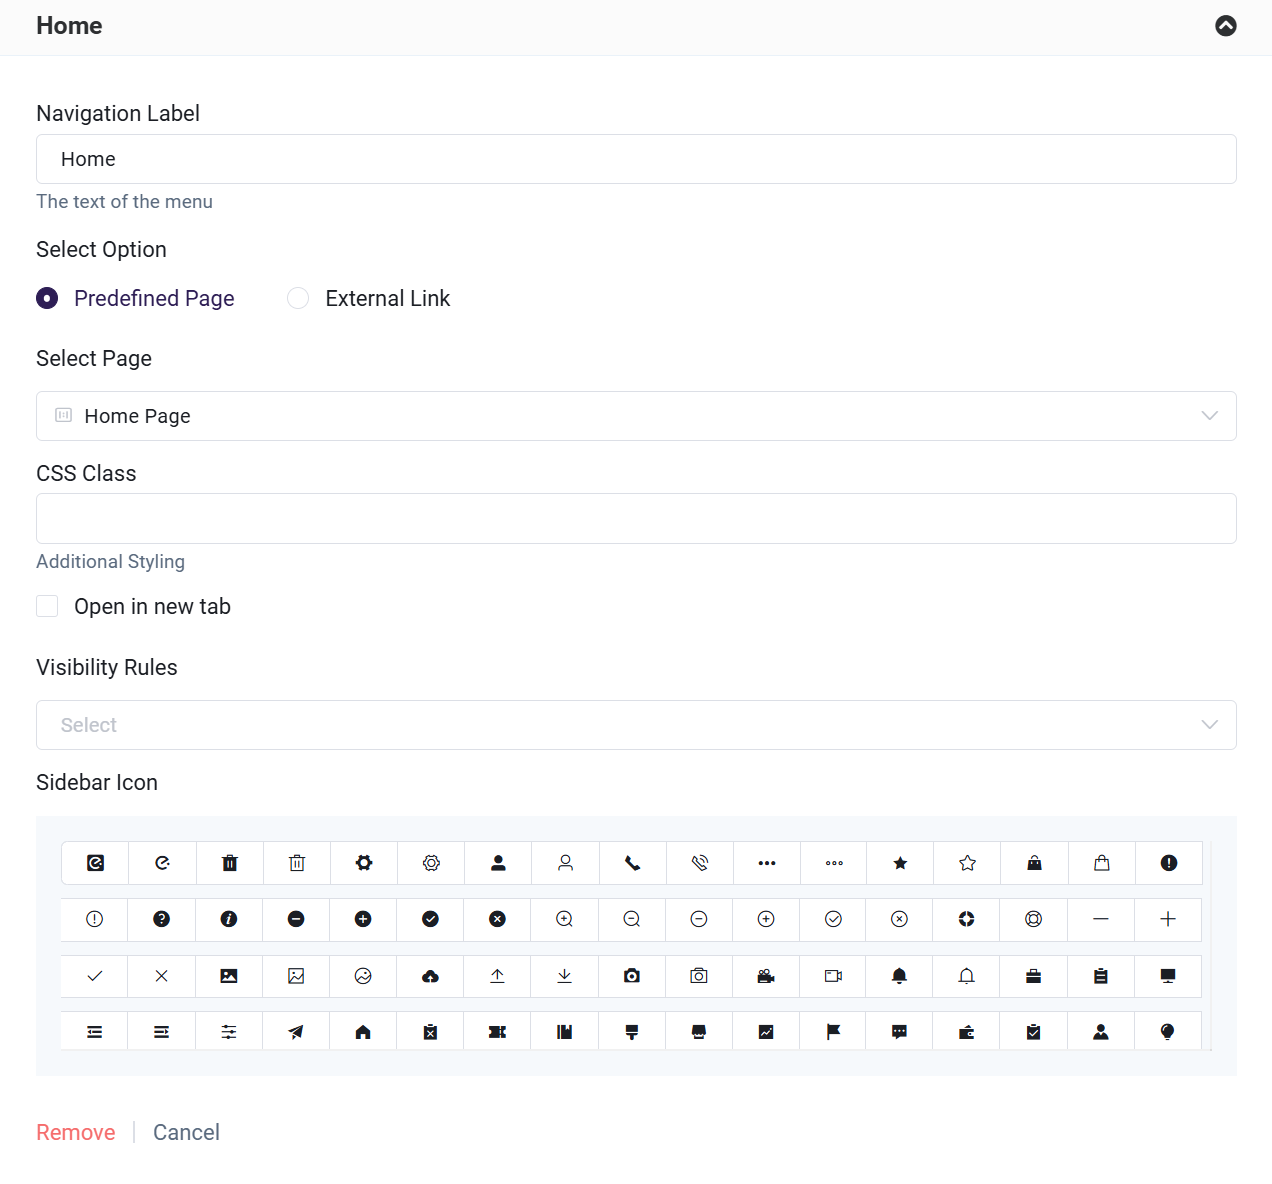
There are six main options for customization. They include:
- Navigation label: change the display text of the item
- Predefined page: select the page to link to from a list of site pages created inside the platform
- External link: select the page to link to with an external URL from any site
- Select Page: select the page you intended to show.
- CSS Class: add additional styling to the menu item
- Note that if you want to hide a menu item, you can enter d-none in this area to do so
- Open in New tab: select this option to have the menu item open the page in a new tab
- Visibility Rules: choose to display an item only when a user is logged in, or only when a user is not logged in. Leave this blank to remain visible at all times
- Sidebar Icon :choose the icon to be shown beside menu
- Remove: delete the menu item (note that if you don't see the option to remove as the item may be a functional part of the menu, you can hide it using the CSS class area--enter d-none in the class section.)
The Student Dashboard Sidebar Menu Items can be customized with an icon as well:
Be sure to Save Menu when you are done!
Menu Structure
The Menu Structure page will list all the items in your menu. You can rearrange the list, as well as add a sub-menu.
-
From the Admin Dashboard, select Pages & Menus, then Menus
-
Select the Menu Location you wish to view
-
Rearrange the list by clicking and dragging an item into the correct place,
-
To view the items within a menu, select the arrow next to an item name to nest the item with the item above it. A right arrow indicates a parent item, and a left arrow indicates a nested item.

In the Main Menu, for example, it will look like this:

Next Steps
Once your navigation menus have been customized, you can head to the General Settings page to edit the rest of the text in your headers and footers. Then you can set the site page identifications for the pages of your platform website: